Wednesday, April 10, 2013

More Pun Fun!

I am so in love with the Dream Pop papers (you NEED to get some of these when they become available on May 1st!) and the Punny Praises stamp set! As much as I love the stamps, I think they could be just a smidge more "punny," if you know what I mean. For instance, I would add wings to this adorable clock to go with the phrase "Time flies when I am with you!" Maybe I'll do that myself next time I use this stamp. I love the clean lines and simplicity of the images, though, so maybe it's best just left alone. :)  Can you see the beautiful texture on the aqua cardstock? :)

I am linking this card to Mojo Monday and Heart 2 Heart challenges.


Hope your day is fabulous!


Tuesday, April 9, 2013

Looking Good!

This week is Spring Break for my school district-- and I have to say-- what a relief!  :) The weather is beautiful and my husband, brother and I took a little trip to the Atlanta Botanical Gardens on Sunday to enjoy the gorgeous flowers there. It was truly a breath of fresh air!

Yet another breath of fresh air arrived on my doorstep this morning! A package from Close to My Heart with the May Scrapbooking Month promotional paper pack called "Dream Pop" came!  This paper is full of fun and bright colors as well as special, textured cardstock. I had to take it out and play with it right away. Here's a card I created with some of the new paper and cardstock. If you look carefully, you will see the textured, diagonally striped tonal pattern on the pink paper. Oh, it is gorgeous paper!

The stamp is from the "Puns of Praise" set, which is adorable. I am linking this to the Heart 2 Heart Challenge which calls for "Pun Fun." :)


Monday, April 8, 2013

Pirouette Fun

I loved the Pirouette stamp from the moment I laid eyes on it and then loved it even more when the sweet Chrystal Heavrin created a set of Thank You cards for me with it as a part of our Secret Santa swaps in December. After trying it out on some birthday cards, I'd have to say I love it even more now!  I used the Artiste cartridge to cut the shapes and then just stamped away! The banners were also cut with Artiste and the coordinating stamp came with the cartridge!

I am so far behind with my birthday wishes (I am so sorry, Rose Blossom birthday girls and my sweet sisters in law! I am catching up-- I promise!). I made four birthday cards today and that should catch me up... I should just keep going, so I'll be prepared for the next birthday!


Monday, April 1, 2013

Rose Blossom Garden Challenge

Hi there!  I'm excited to be a part of the Design Team for the Rose Blossom Garden Challenge!  Our challenges will center around a designated key from one of the CTMH Cricut cartridges. This time, the challenge was to create something using the "Happy Birthday" key from the Artiste cartridge. I am always in need of birthday cards, so this was a perfect assignment for me!


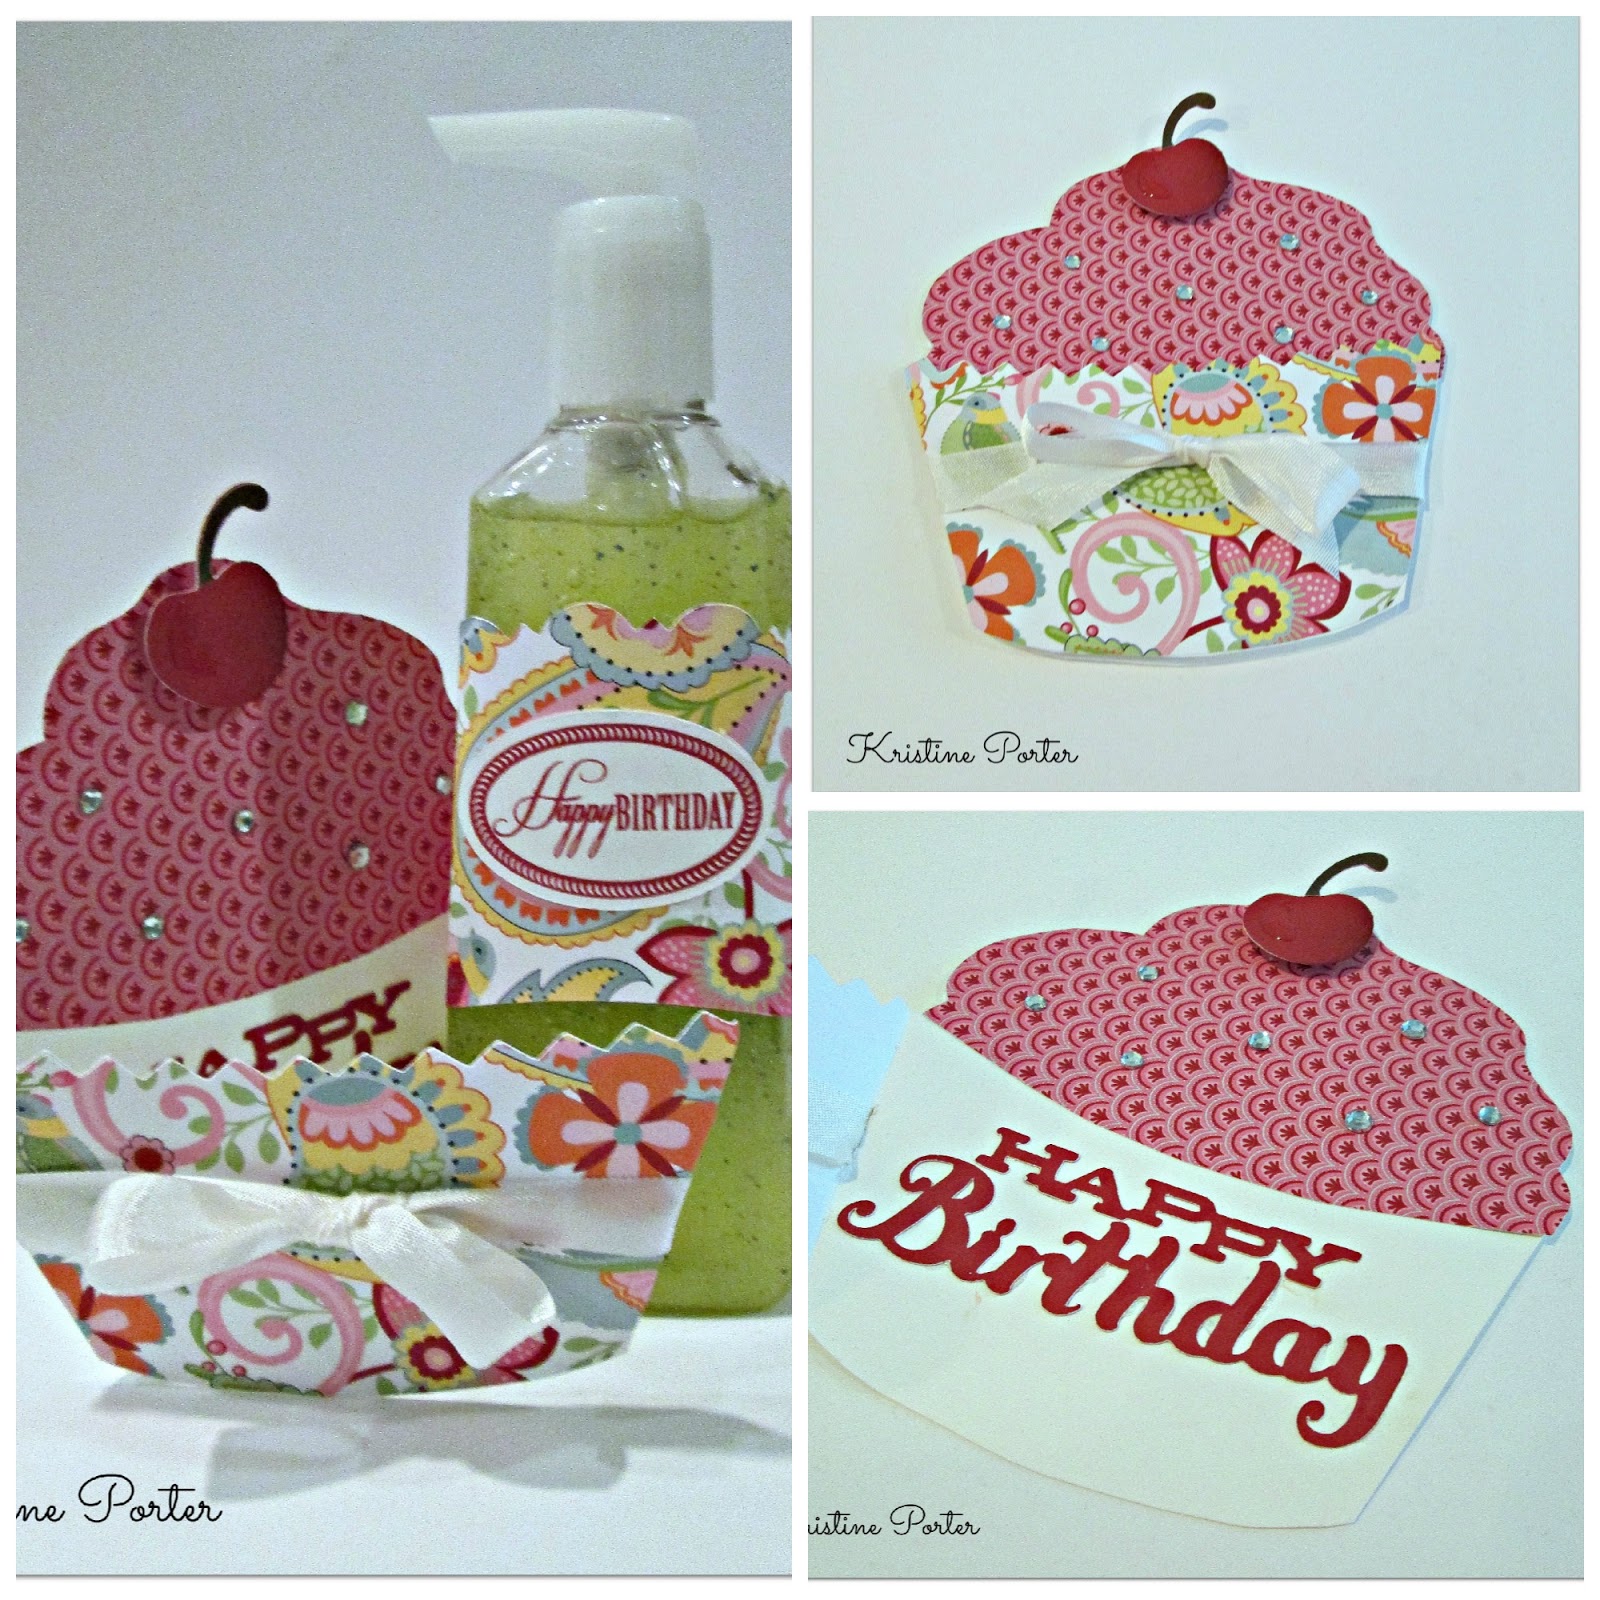
I chose to create the cupcake card. I used the cupcake card cut, cherry, and "Happy Birthday" sentiment. To create the card, I cut the cupcake card 3 times-- once out of White Daisy, once using the dark pink patterned paper from Chantilly, and once using the multi-colored patterned Chantilly paper. I trimmed the pink paper and attached to the top of the White Daisy card to simulate icing. The other patterned paper was trimmed and attached to the bottom to create the cute cupcake bottom. I attached clear sparkle "sprinkles" and a cherry cut from Ruby cardstock. I cut the cherry a second time out of Cocoa cardstock, cut off the stem and attached the stem to the Ruby cherry. I used Liquid Glass to created a bit of shine on the cherry and sponged Ruby ink on one side to create shadow and depth.  The Happy Birthday sentiment was cut of Ruby paper and adhered inside. To finish, I tied it all up with a Color Ready Seam Binding bow.


Well, of course I needed a "treat" to go with my birthday card!  I really, really love all of the delicious smelling soaps and lotions from Bath and Body Works and had recently purchased a few bottles of the anti-bacterial soap to keep on hand. Did you know that the label peels off easily and in one piece if you start at the top and just peel down? I removed the front label and adhered the cupcake wrapper that I also cut from Chantilly paper. I wrapped it around the bottle and attached a "Happy Birthday" label stamped in Ruby. The front of the bottle not covered by paper was still a bit sticky, so I recommend covering the whole thing with clear contact paper. Voila! A birthday gift set you'd be thrilled to give or receive-- all cut from one key on the Artiste cartridge!

 
Visit the Rose Blossom Challeng Blog to see other creations using the Artiste cartridge's "Happy Birthday" key!  Be sure to link a photo of your own creation for a chance to win a CTMH stamp set!